
Last updated September 20, 2026
Full 25-point door and opener safety check with every visit - springs, cables, rollers, tracks, and your LiftMaster or Chamberlain opener included
You get a price before we start. It does not change when the truck arrives.
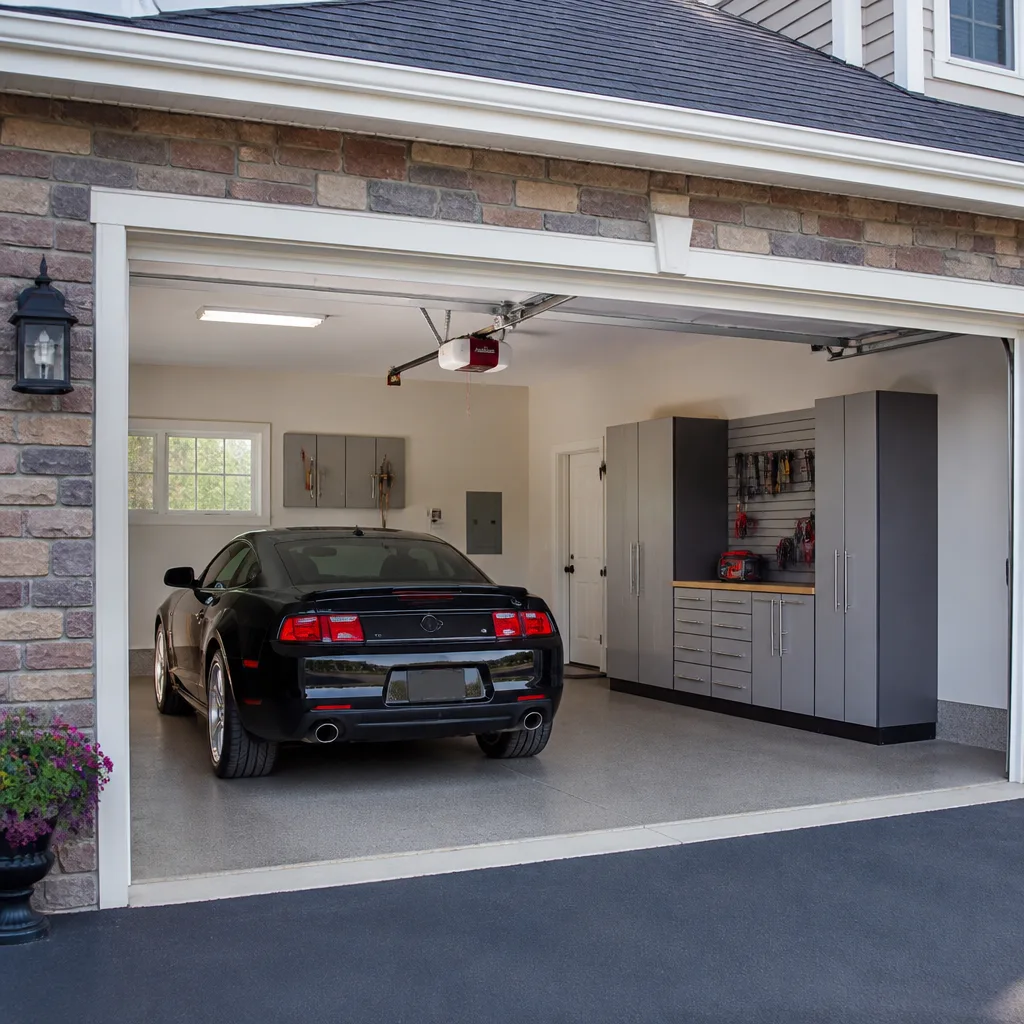
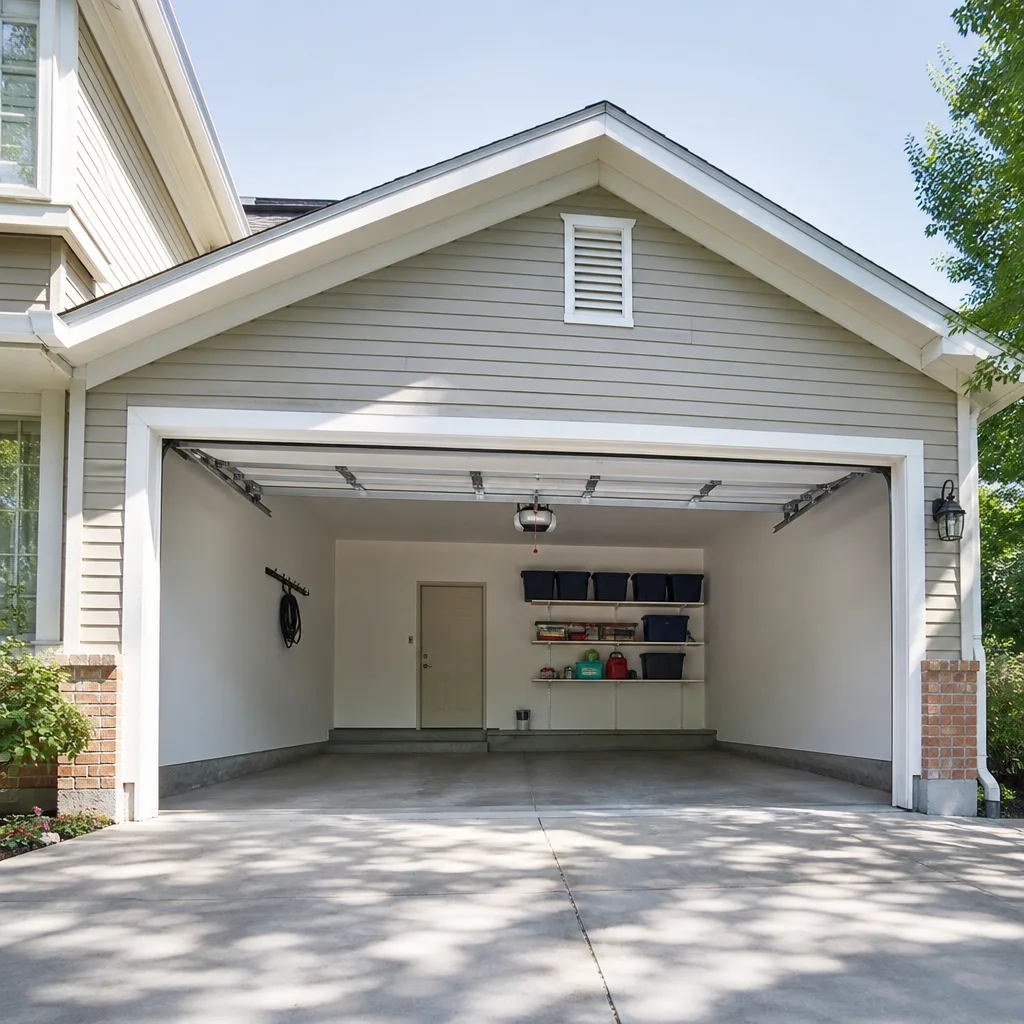
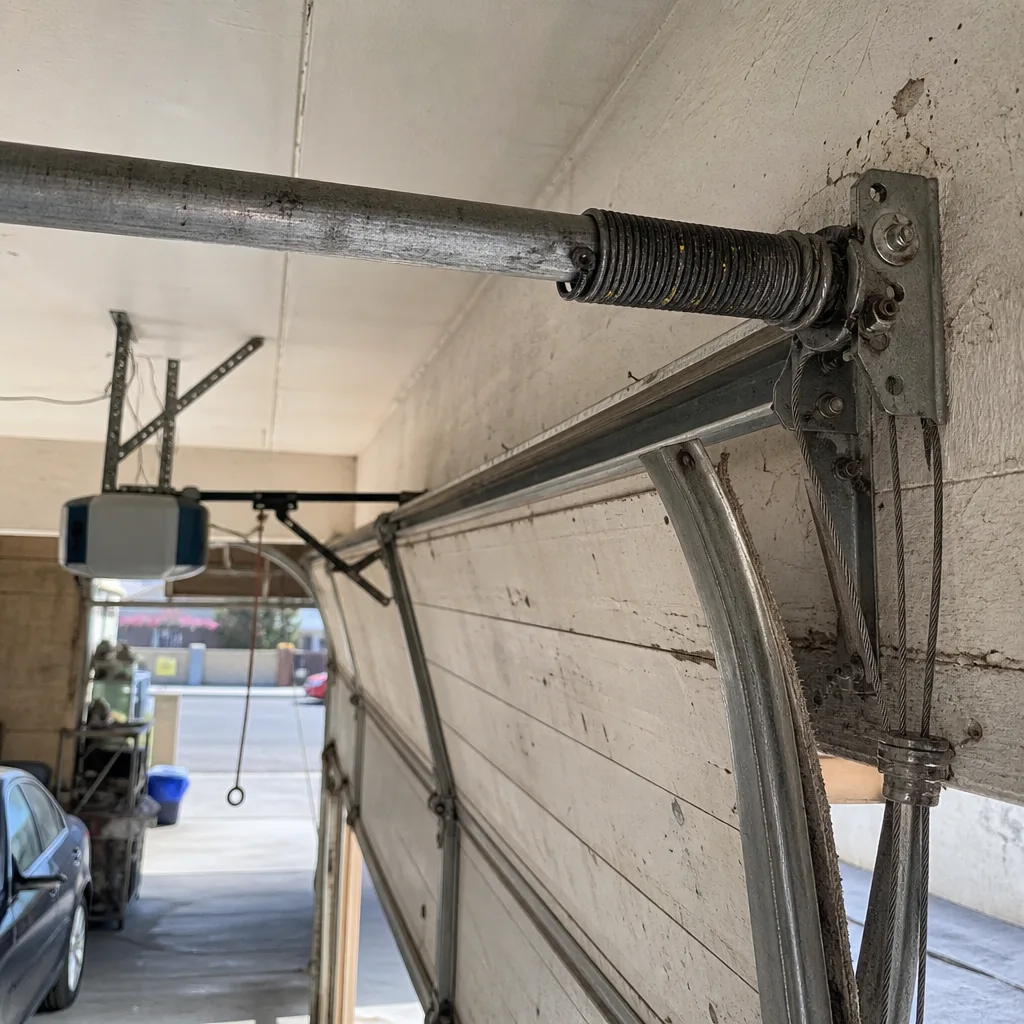 Before
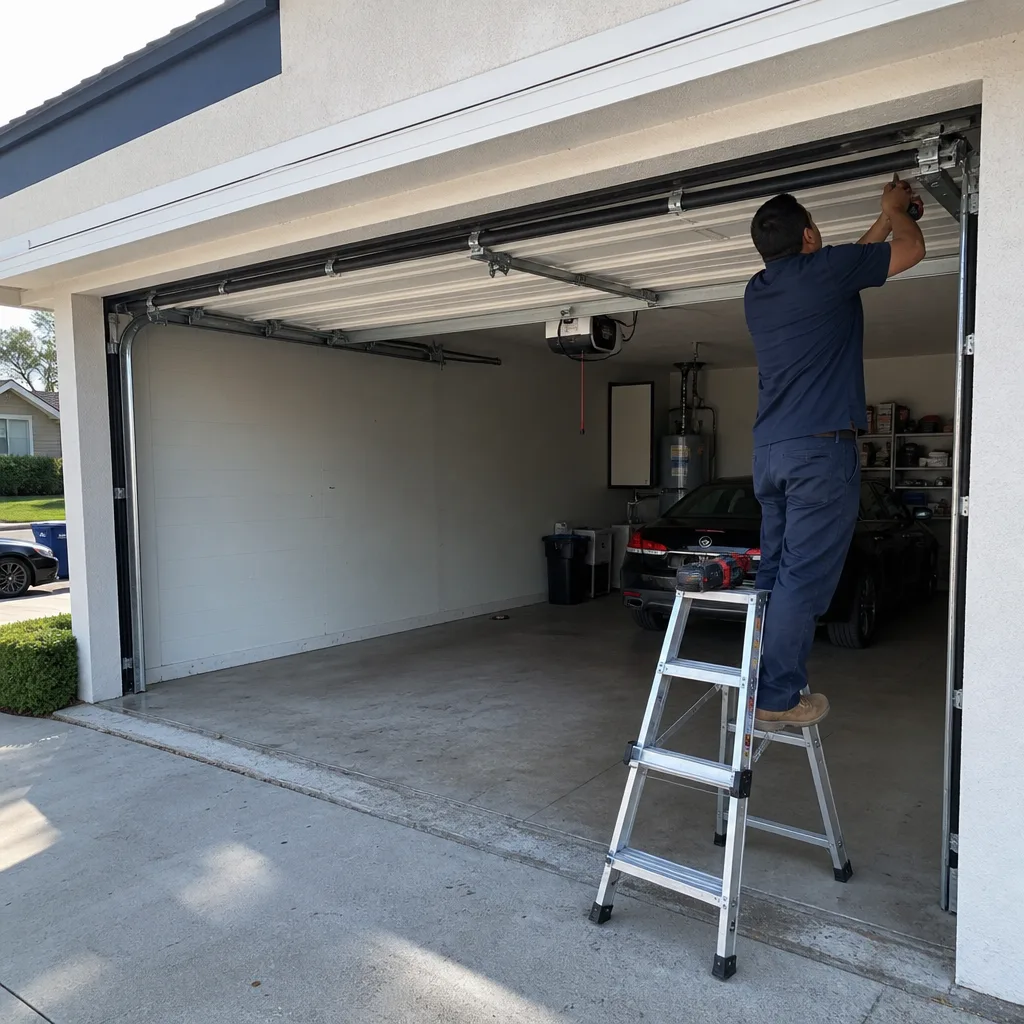 After
After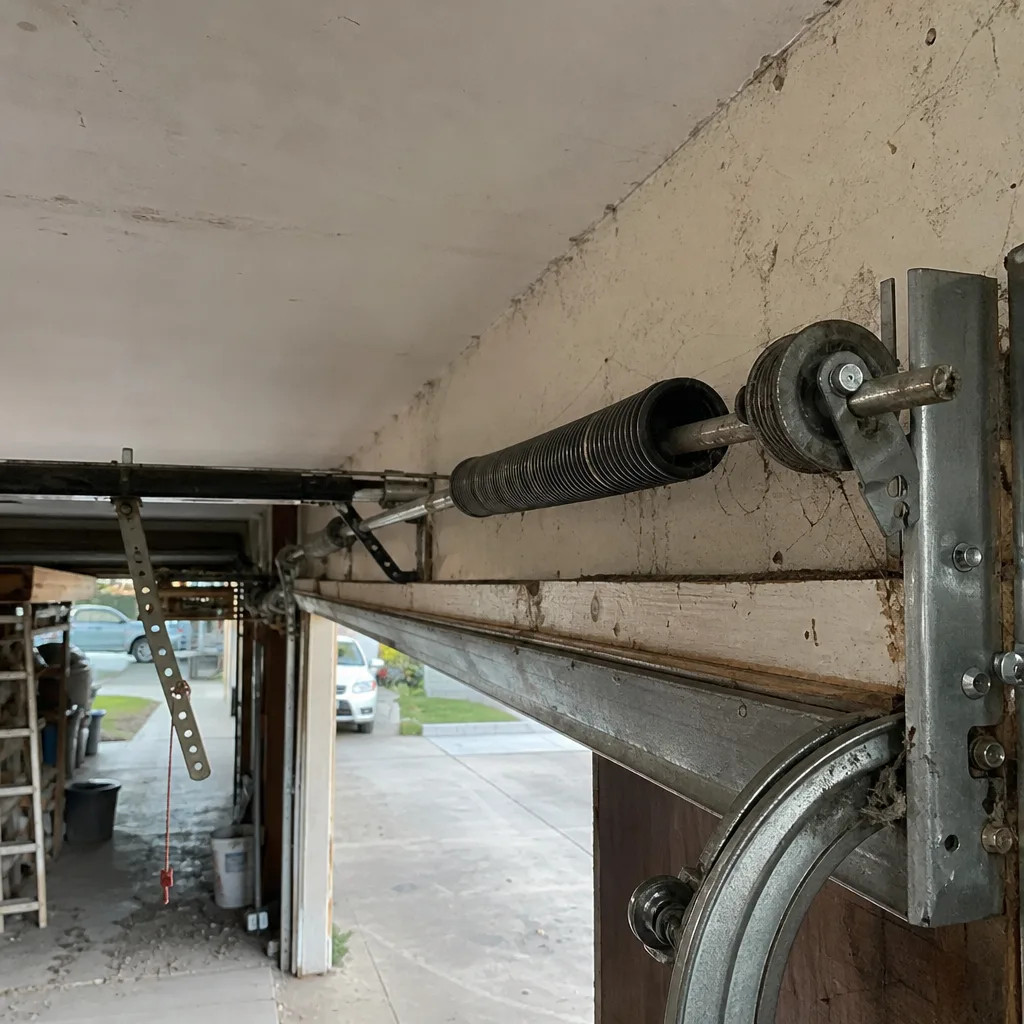 Before
 After
After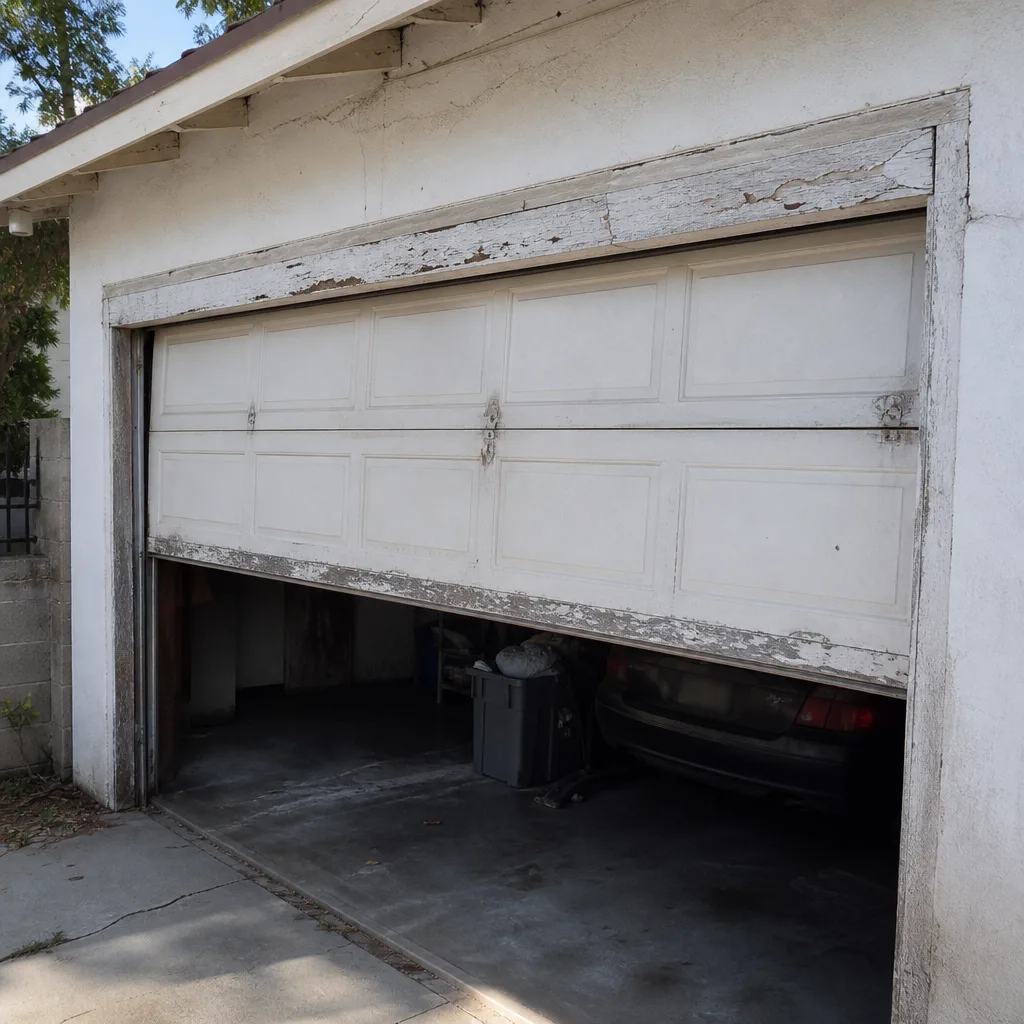 Before
 After
AfterGarage Door Repair Maintenance Checklist for Van Nuys Homeowners
The least-inspected component on most Van Nuys garage doors is the bottom weatherseal, a $18 part whose failure lets summer heat, pests, and monsoon-season dust into the garage and accelerates the opener’s duty cycle by 15 to 20 percent. Most homeowners never think about it until they see daylight under the door or find mouse droppings along the wall. This guide divides the work into what you can safely do yourself, what belongs to a technician with a torque wrench and spring-winding bars, and how often each task matters in Van Nuys specifically. For professional help, see our Garage Door Repair services. You’ll learn the tasks, the tools, the intervals, and the one habit that changes every future repair conversation: photographing what you see before anyone quotes a price.
Quick Answer
A garage door maintenance checklist for Van Nuys homeowners should separate owner-safe tasks from technician-only work. You can visually inspect rollers, cables, brackets, and seals, lubricate hinges and rollers with the right product, test the balance and reverse function, and photograph anything that looks worn. Spring tension, cable drum work, and limit adjustments stay with a professional because the stored energy in a torsion spring can exceed 150 ft-lbs, and a snapped cable or winding cone becomes a projectile without warning. In Van Nuys, run the visual inspection monthly between June and September, test the auto-reverse and balance quarterly, and lubricate every four months with a lithium-based or silicone spray made for garage doors. For more guides & resources, visit our blog.
Table of Contents
- Owner-Safe Tasks vs. Technician-Only Tasks: The Line That Matters
- Monthly Visual Inspection Checklist for Van Nuys Doors
- Lubrication for the Valley Climate: What to Use and What to Avoid
- How to Read the Balance Test in Numbers, Not Feelings
- The Photo Documentation Habit: Evidence Before Estimates
- Maintenance Frequency Table for Van Nuys Conditions
- Weatherseal, Perimeter Gaps, and the Dust Problem
- Common Mistakes to Avoid
- When to Call a Professional
- Frequently Asked Questions
- The Bottom Line
BeforeAfterOwner-Safe Tasks vs. Technician-Only Tasks: The Line That Matters
Most published garage door checklists blur a line that should be drawn in ink. They’ll tell you to “check the springs” as if that means look at them, without saying what you’re looking for or when to stop looking and call someone. The line is this: if a task involves unbolting hardware that holds tension, adjusting a cable, or removing anything attached to the spring system, it belongs to a technician. Everything else, you can handle with a step stool, a flashlight, and a camera phone.
Here is the split, stated plainly.
Owner-Safe Tasks
- Visual inspection of rollers, hinges, brackets, cables, and seals. You’re looking for cracks, fraying, rust, and gaps. You’re not touching anything that holds tension.
- Lubrication of hinges, rollers, and the opener rail. Use a lithium-based grease or a silicone spray formulated for garage doors. Apply, wipe excess, done.
- Weatherseal inspection and replacement. The bottom seal slides out of its retainer channel on most doors. The side and top seals can be checked with the door closed, from inside the garage.
- Balance test and auto-reverse test. You’re operating the door, not disassembling it. If the door fails either test, you document the result and call.
- Photo documentation of anything that looks worn, cracked, or out of alignment. This is the habit that gives a technician context before they arrive.
Technician-Only Tasks
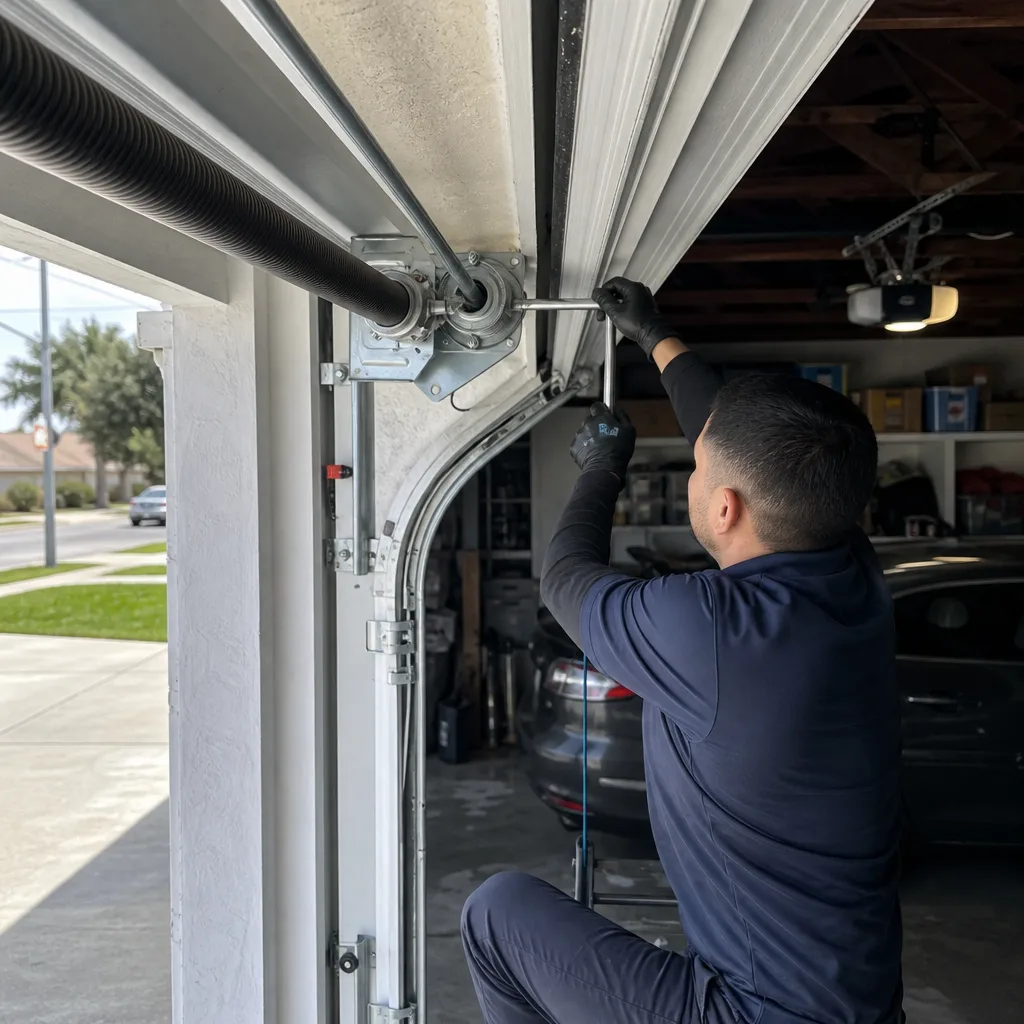
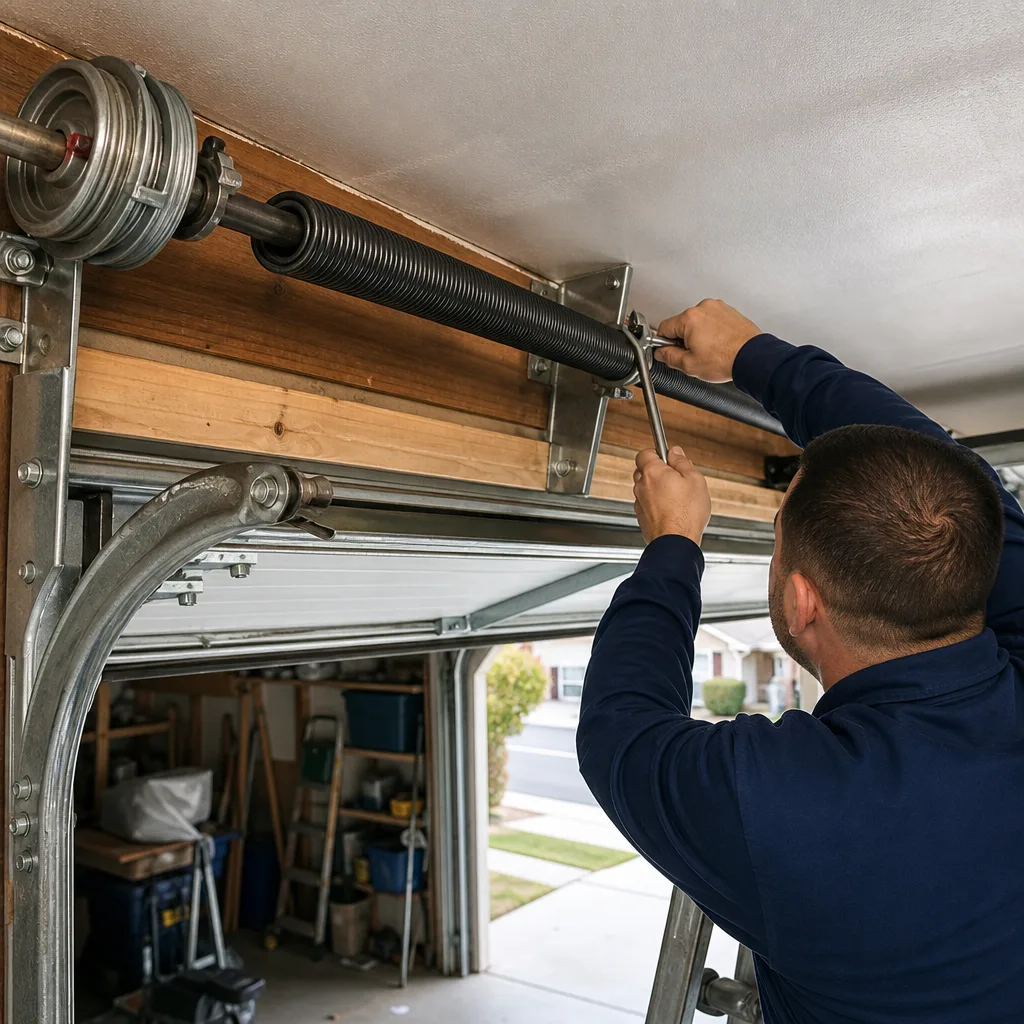
- Torsion spring inspection, adjustment, or replacement. The torsion spring sits on a shaft above the door and stores enough energy to lift the door’s full weight. When it snaps, the release is sudden and loud. A technician uses winding bars and follows a precise winding sequence. This is not a DIY task, period.
- Cable inspection and replacement. The cables run under tension along each side of the door. Fraying is visible, but replacing a cable requires releasing the spring tension first. If you try to unbolt a cable bracket under tension, the bracket can become a projectile.
- Spring drum and cable drum work. The drums wind the cables evenly as the door moves. If a cable jumps the drum, the door can jam mid-travel or drop unevenly.
- Limit switch and force setting adjustments. These are on the opener and control how far the door travels and how much force the motor applies. Wrong settings cause the door to reverse when it shouldn’t or fail to reverse when it should.
- Track realignment and bracket repair. Tracks are bolted to the framing. If a track is bent or a bracket is pulling away from the wall, the door’s travel becomes unsafe. Realignment requires the door’s weight to be properly supported.
The reason for the split isn’t gatekeeping. It’s that the failure mode on the technician side is a snapped spring under 150 ft-lbs of stored tension, and the cost of getting it wrong is a trip to urgent care. On the owner side, the failure mode is a dirty hinge or a worn seal, and the cost of getting it wrong is a few dollars and a redo.
Monthly Visual Inspection Checklist for Van Nuys Doors
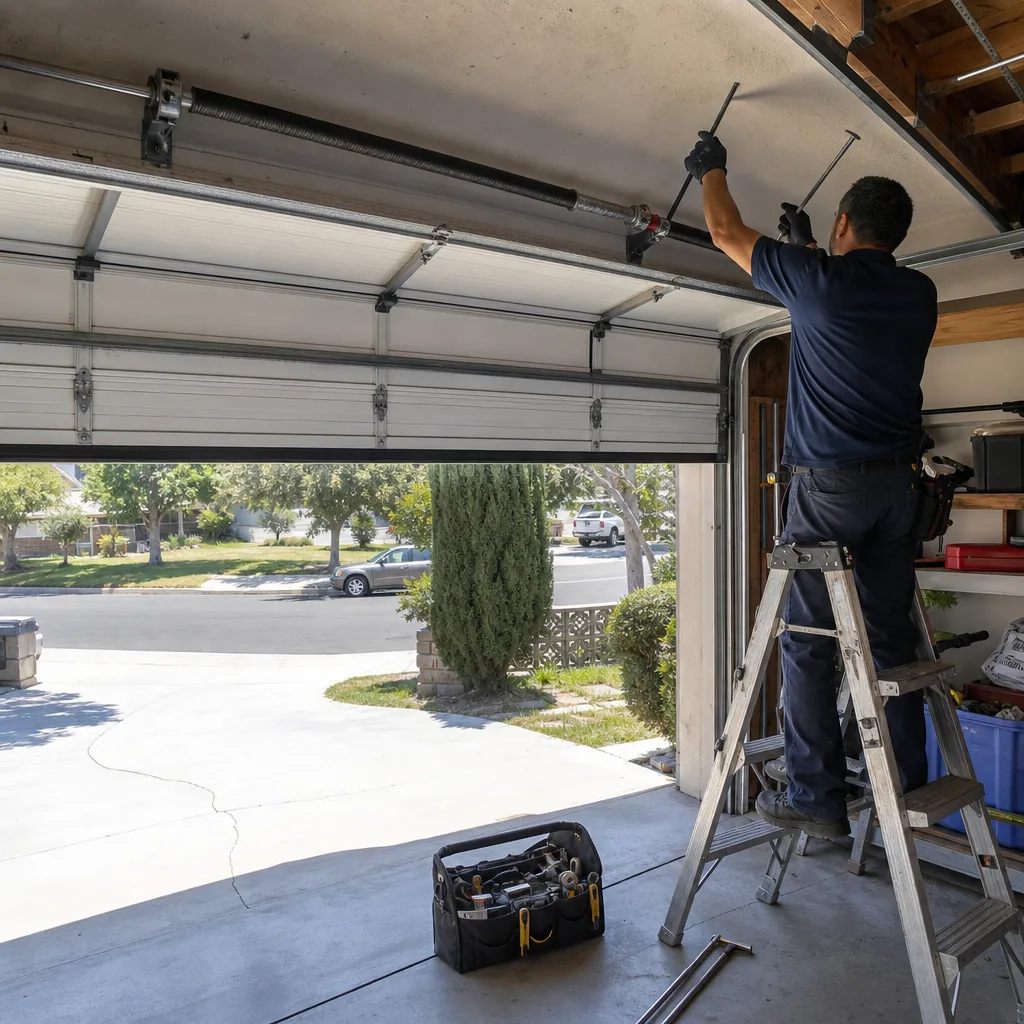
Run this checklist with the door closed, from inside the garage. You’ll need a flashlight and about ten minutes. Do it monthly between June and September, when sustained heat above 95°F stresses every component, and every other month the rest of the year.
- Look at the bottom weatherseal. Close the door and kneel at the bottom corner. If you can see daylight under the seal, or if the rubber is cracked, flattened, or missing chunks, the seal is done. In Van Nuys, a failed seal means dust from the Santa Ana-adjacent wind patterns, pests, and 100°F air entering the garage every afternoon. The part costs around $18 and takes ten minutes to replace.
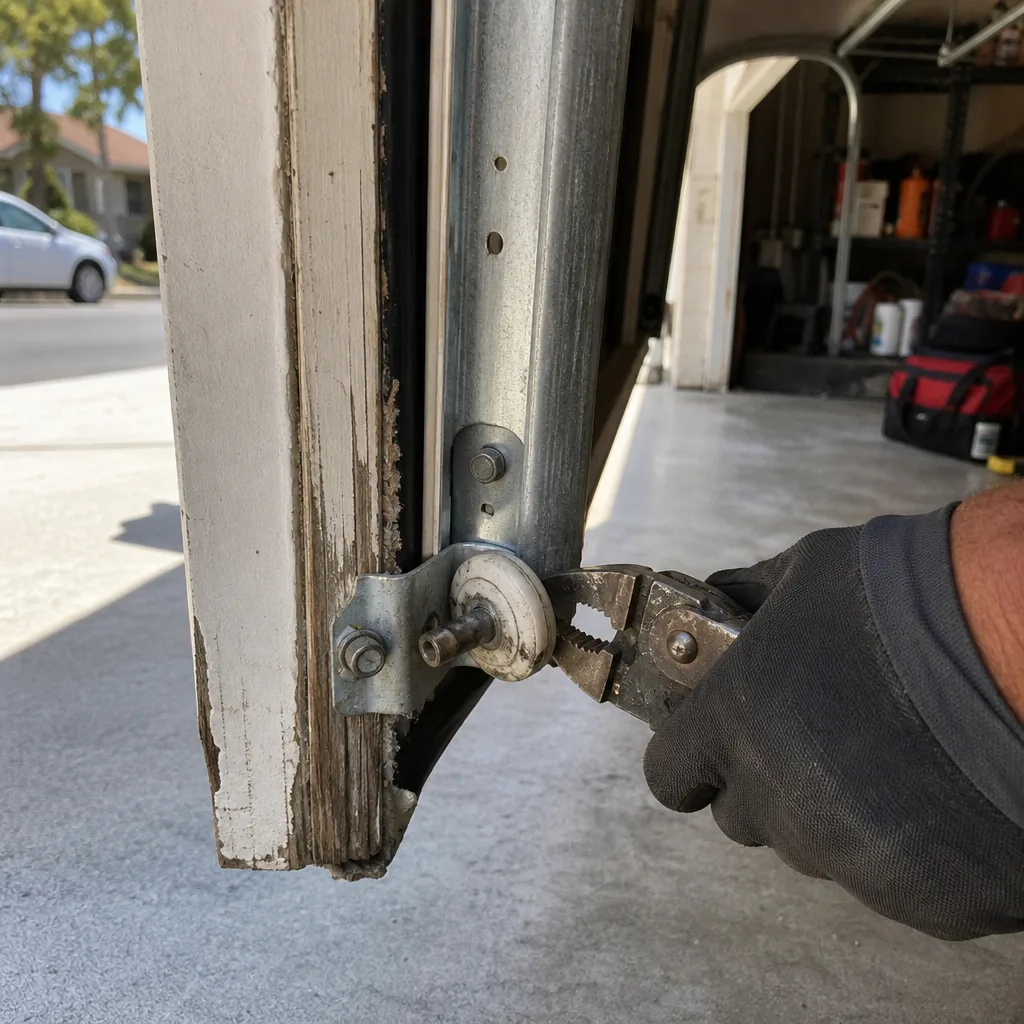
- Look at the rollers. Rollers are either steel, nylon, or steel with nylon bearings. Nylon rollers crack under sustained heat; steel rollers wear at the bearing and start to wobble. Look for visible cracks in nylon, flat spots on steel, and any roller that doesn’t sit fully inside the track. A roller that wobbles accelerates track wear.
- Look at the cables. The cables run vertically along both sides of the door and wrap around drums at the top. Look for individual wire strands poking out, which means fraying has started. A frayed cable under tension can part without warning, and when it does, the door drops on that side. If you see fraying, do not operate the door. Call for service and include a photo.
- Look at the hinges and brackets. Hinges connect the door panels and take the repeated torque of opening and closing. Look at the hinge where it bolts to the panel. A crack starts as a hairline in the metal or at the screw hole. Brackets at the bottom corners hold the cable ends and the rollers. Any visible crack there is a stop-and-call condition.
- Look at the track alignment. Stand back and sight down each vertical track. The track should be plumb. If it bows inward or outward, or if the gap between the track and the door changes from top to bottom, the track has shifted or a bracket has pulled loose. This changes how the rollers bear weight and accelerates wear on one side.
- Listen to the door. Open and close the door once, manually if you can. A properly maintained door is smooth and quiet. Grinding, squealing, rattling, or a rhythmic thump points to a specific component: grinding is usually the opener gear or a bearing, squealing is a dry hinge or roller, rattling is a loose bracket or a worn roller.
Six items, monthly in summer, ten minutes. The point is to find the $18 weatherseal before it becomes a $400 opener motor, and the frayed cable before it becomes a dropped door.
Lubrication for the Valley Climate: What to Use and What to Avoid
This is where most generic advice fails Van Nuys homeowners. The advice says “lubricate the rollers and hinges,” and the homeowner grabs whatever spray is on the garage shelf, which is usually WD-40 or a petroleum-based penetrating oil. Here’s the problem: petroleum-based sprays degrade nylon rollers faster in sustained heat. The petroleum softens the nylon, the heat accelerates the chemical reaction, and the roller develops flat spots or cracks within a couple of seasons. A nylon roller that should last ten to twelve years fails in four or five, and the homeowner never connects the failure to the lubricant.
Use a lithium-based grease for hinges and a silicone spray formulated for garage doors for rollers and the opener rail. Lithium grease stays in place under high heat and doesn’t attack nylon. Silicone spray repels dust rather than attracting it, which matters in Van Nuys where the December and January winds push grit into every gap. Avoid WD-40 entirely on any garage door component: it’s a solvent and a water displacer, not a lubricant, and it washes away the existing lubricant.
The task itself takes fifteen minutes, every four months.
- Wipe each hinge with a rag before lubricating. Adding lubricant over dirt creates a grinding paste. Wipe first, always.
- Apply a small amount of lithium grease to the hinge pivot points. A little goes a long way. If it’s dripping, you used too much and it will collect dust.
- Spray silicone lubricant on the roller bearings and the roller stem. The bearing is where the roller meets the shaft. The stem is where the roller attaches to the hinge. Don’t spray the track: rollers ride on bearings, not on a lubricated track. A greased track attracts dust and creates a sticky mess.
- Spray a light coat of silicone on the opener rail if you have a chain or screw drive. Belt drives typically need no lubrication. Check your opener manual.
- Operate the door twice to distribute the lubricant, then wipe any excess. Excess lubricant is a dust magnet, and dust in the Valley is abrasive.
If you’ve been using petroleum-based spray for years and your nylon rollers are cracking, replace them. The rollers for a standard two-car door cost between $30 and $80 for a full set, and a technician swaps them in under an hour. Continuing to lubricate cracked rollers is like oiling a bearing that’s already galled: the damage is done.
How to Read the Balance Test in Numbers, Not Feelings
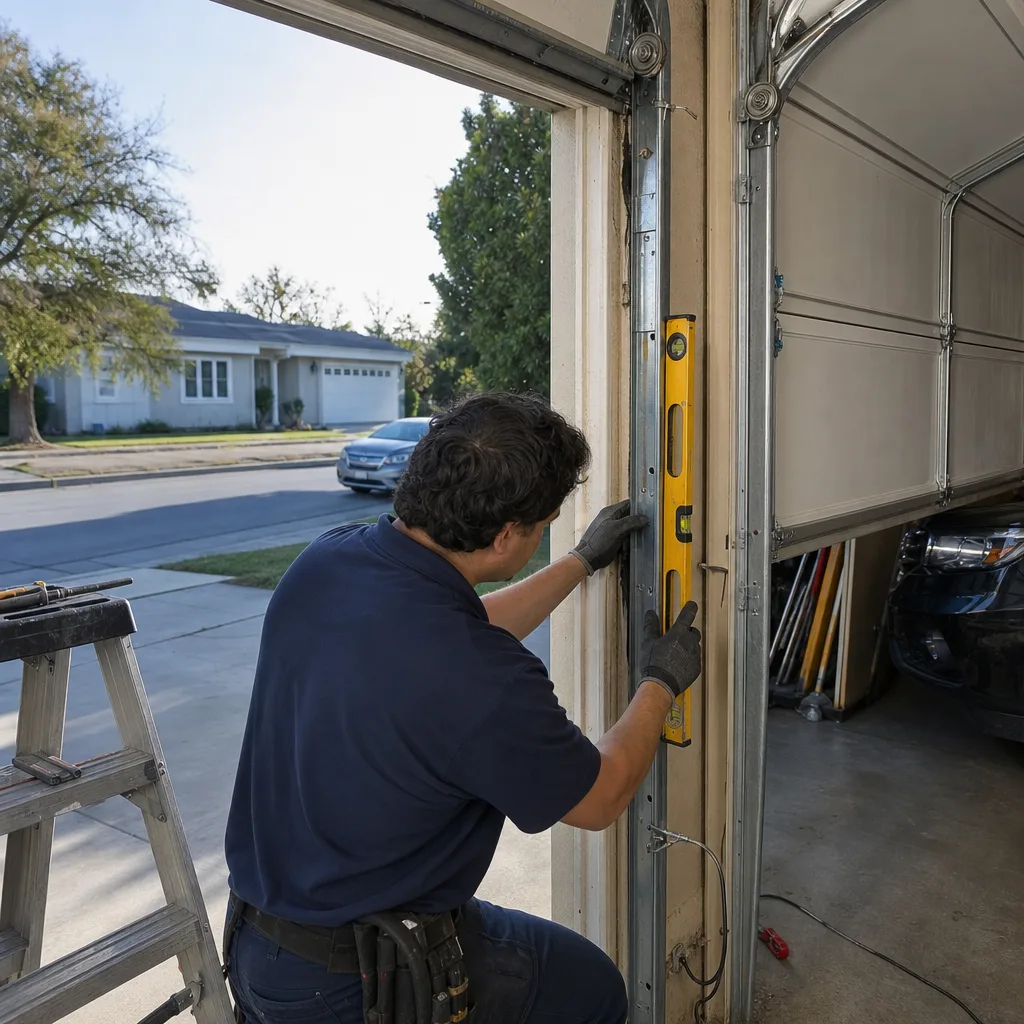
Every checklist mentions the balance test. Almost none of them tell you how to interpret the result in numbers. The standard instruction is: “Pull the release cord, lift the door halfway, and see if it stays.” But “stays” is not a measurement. A door that drifts slowly downward over two minutes is failing the test, and “it stayed up when I looked at it” is how a weak spring gets ignored until the opener motor burns out.
Here is the actual test, with numbers.
- Close the door. Pull the red release cord to disconnect the opener. The cord hangs from the trolley carriage, which is the part that connects the opener rail to the door.
- Lift the door manually to the halfway point. Halfway means the bottom of the door is level with the midpoint of the opening, roughly the height of your chest.
- Let go. A properly balanced door stays within a two-inch band of where you released it. It may settle slightly, but total drift over 60 seconds should be under two inches in either direction. If the door drifts downward more than two inches in a minute, the springs are losing tension and the opener is compensating every cycle. If the door climbs upward, the springs are over-tensioned, which is less common but just as hard on the opener.
- Open the door fully and repeat at three feet from the top. The door should hold near the top without drifting. A door that sags at the top but holds at the midpoint often has a spring that’s about to fail or a cable that’s starting to slip on the drum.
- Reconnect the opener. With the door down, pull the release cord toward the door and press the opener button once. The trolley carriage re-engages automatically in most systems.
The drift matters because a torsion spring is rated for a specific number of cycles, normally 10,000 to 20,000 depending on the spring. Every open-close cycle uses one cycle. A door that’s out of balance means the spring is doing less work and the opener motor is doing more, which shortens the motor’s life and raises your electric use. In Van Nuys, where many homeowners use the garage as the primary entry door and cycle it four to six times a day, that’s 1,500 to 2,200 cycles a year. A spring that should last eight years fails in five, and the first sign was a slow drift that no one measured.
If the door drifts more than two inches in 60 seconds, call for a spring assessment. It’s a quick service call, and replacing springs before they snap is always cheaper than replacing springs after they snap and dent the door, bend the track, or damage the car.
The Photo Documentation Habit: Evidence Before Estimates
This is the habit that separates homeowners who get straightforward repair quotes from homeowners who get upsold. Before you call anyone for garage door service in Van Nuys, take five photos. Not for the contractor’s benefit. For yours.
The habit grew out of a founding rule at Servo Garage Doors, the company Marcus Deller started in 2015 with a simple rule: photograph the failed component before quoting a replacement. That rule is now Clause 4 of The Haven Standard, the documented operating standard Servo works under. The idea is that you, the homeowner, should see the broken part with your own eyes before anyone asks you to pay for a replacement. If a contractor tells you the spring is “worn out” but won’t show you a photo of the spring, that’s an answer in itself.
Here’s the photo sequence to keep on your phone.
- Any visible wear you found during the visual inspection. A cracked roller, a frayed cable, a rusted hinge. Take a close-up with the flashlight on, and take a wider shot showing where on the door the component sits.
- The bottom weatherseal from the inside, at the corner. Show the gap if there is one. A photo of daylight under the seal tells a technician everything about how long the seal has been failed.
- The spring assembly above the door. You’re not touching it. Just photograph the spring, the center bracket, and the cables where they wrap the drums. If the spring is broken, you’ll see a separation in the coil. If the cable is fraying, the photo will show the loose strands.
- The track alignment from a few feet back. A photo that shows the full track on one side gives the technician a reference for how far out of plumb the track has moved.
- The balance test result, if you ran it. Not a photo, but a note: “door drifted 4 inches down in 60 seconds from halfway.” Numbers beat adjectives. “Drifts four inches in a minute” tells a technician more than “feels a little off.”
Keep these photos on your phone. When you call for service, mention that you have photos and a measured drift result. A technician who knows you’ve documented the symptoms knows you’re comparing quotes, not just calling the first number on Google. And if you bring a written estimate from another company, Servo’s Free Second Opinion policy means the team will review it against their own findings. Bring the paperwork, and you get an evidence-based comparison, not a sales pitch.
Maintenance Frequency Table for Van Nuys Conditions
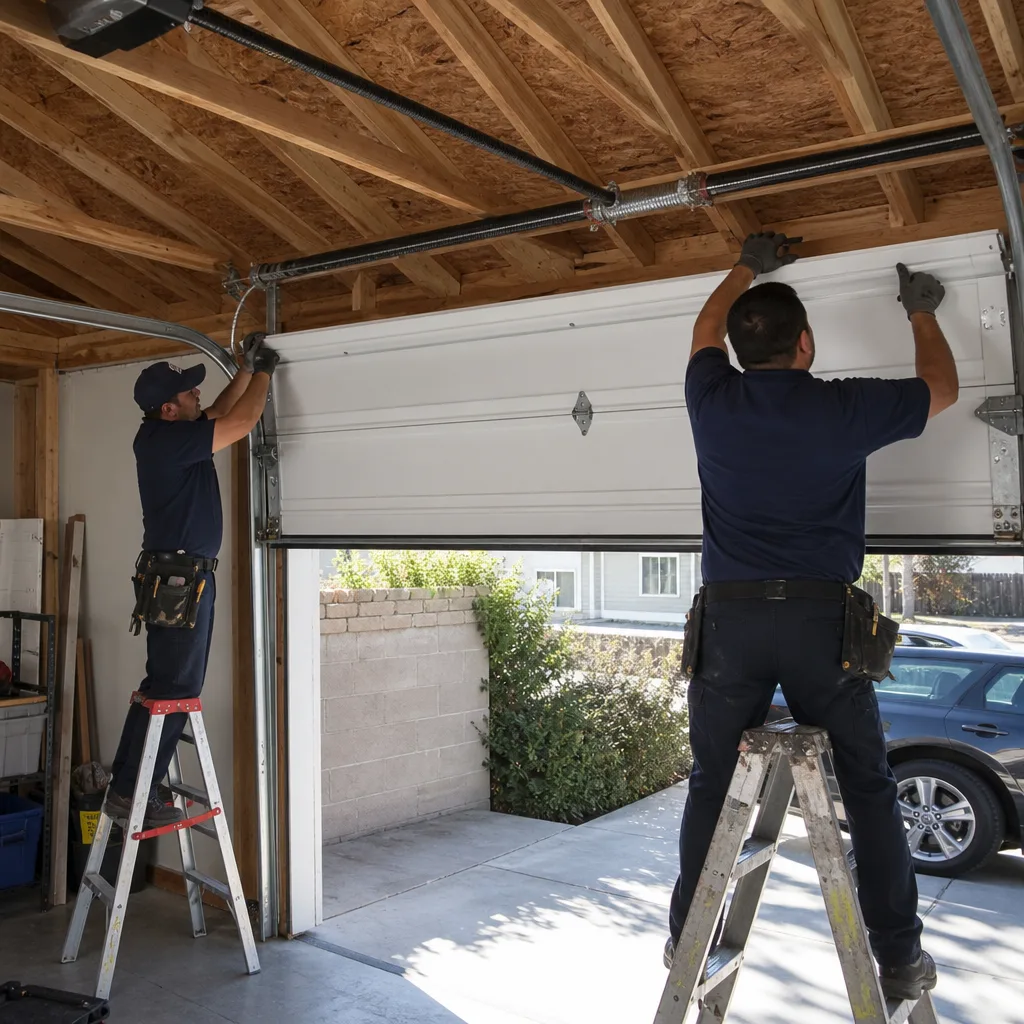
Van Nuys isn’t a mild climate. The summer heat from June through September pushes garage temperatures past 110°F on a regular basis, and the winter months bring the Santa Ana-adjacent wind patterns that carry fine grit into every exterior gap. A maintenance schedule written for a coastal city like Santa Monica doesn’t apply here. Here’s the calibrated version.
| Task | Frequency | Van Nuys-Specific Reason |
|---|---|---|
| Visual inspection (seals, rollers, cables, brackets, tracks) | Monthly June-September; every other month October-May | Heat above 95°F accelerates rubber and nylon degradation; dust season adds grit to moving parts |
| Lubrication of hinges, rollers, and opener rail | Every 4 months | Summer heat thins lubricants; winter grit contaminates them |
| Balance test with drift measurement | Quarterly | High cycle counts from garage-as-front-door use in Van Nuys |
| Auto-reverse and photo-eye test | Quarterly | Federal safety requirement and the primary defense against entrapment |
| Bottom weatherseal inspection | Monthly June-September | Seal failures during heat season let 100°F+ air and pest activity into the garage |
| Fully open and close the door, listening for changes | Weekly, if the door is used daily | Early detection of a failing bearing or a dry hinge before it becomes a repair |
| Professional spring and cable inspection | Annually | Springs are rated in cycles; a technician can measure wire diameter and coil spacing to estimate remaining life |
Two tasks deserve emphasis for Van Nuys specifically. First, the bottom weatherseal inspection deserves monthly summer attention because a failed seal during a 105°F week means your garage becomes an oven and your opener runs hotter. Second, the annual professional spring inspection has outsized value here because Van Nuys homeowners often cycle the door more than the national average. If you use the garage as the primary entry and exit, you’re putting four to six cycles a day on the springs. A spring rated for 10,000 cycles lasts about five to seven years at that rate. The annual inspection catches the coil wear before the snap.
Weatherseal, Perimeter Gaps, and the Dust Problem
The bottom weatherseal is the least-inspected component on most garage doors because it’s invisible from inside the garage and only visible from outside when the door is closed, which is when most people are inside the house or already left. But in Van Nuys, the bottom seal and the side seals are doing real work every day: keeping out the fine dust that the winter winds push through every neighborhood, keeping out the heat from the afternoon sun, and keeping out the mice and rats that follow the food smells into garages.
A failed bottom seal is easy to spot. Close the door and look for daylight along the bottom edge. If the seal is flattened, cracked, or missing sections, it’s due for replacement. The part costs about $18 to $25 depending on the door width, and the replacement is straightforward: the old seal slides out of the retainer channel, the new one slides in. The only nuance is that different door brands use different seal profiles, so match the seal to the door. Clopay, Amarr, Wayne Dalton, and Craftsman doors often take different seal shapes, and a generic seal from a hardware store may not seat properly in the retainer channel.
The side and top seals are simpler. They’re typically vinyl or rubber strips mounted to the door frame. Check them with the door closed, from inside the garage, looking for gaps where light comes through. A one-eighth-inch gap around the perimeter doesn’t sound like much, but it adds up. The gap equivalent of a 12-inch-by-1-inch opening is enough to let in visible dust in a single windy week, and in the December and January grit-wind season, that means a film of fine dust on everything in the garage.
Replacing perimeter seals is an owner-safe task on most doors. The old seal pulls off, the new one presses on or screws in, depending on the profile. Just watch for one thing: if the door itself is out of alignment, the seal will wear unevenly no matter how many times you replace it. An uneven seal-wear pattern is a symptom, not a cause, and it points back to the balance test or a track alignment issue.
If the weatherseal has been failed for a full summer, check the opener’s duty cycle. A door that lets heat in makes the opener work against a hotter and more humid environment, and the motor runs longer per cycle. The 15 to 20 percent duty-cycle increase isn’t visible on the motor, but it shows up in the service life. An opener that should last ten to twelve years fails in seven or eight, and the root cause was a seal nobody looked at.
Common Mistakes to Avoid
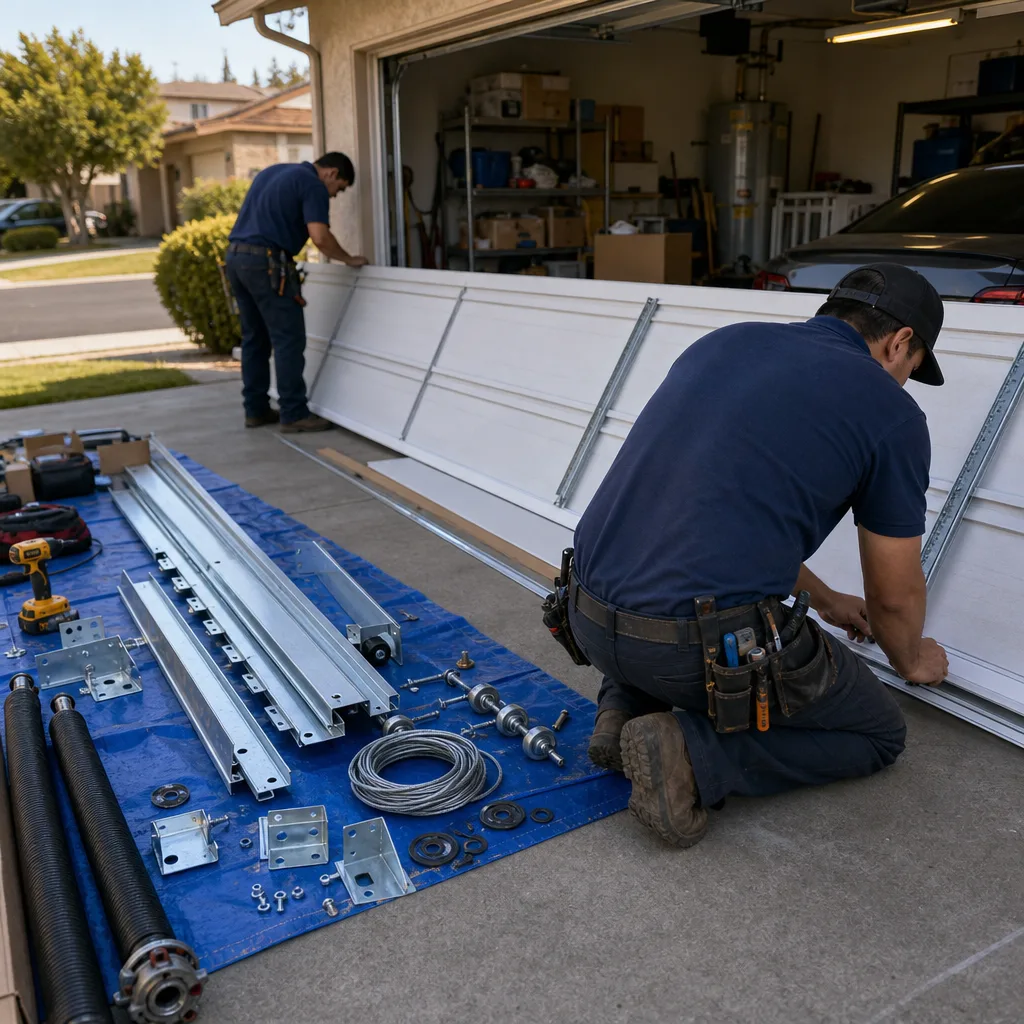
- Using petroleum-based spray on nylon rollers. In sustained Van Nuys heat, petroleum softens nylon and shortens the roller’s life by years. Use lithium grease on hinges and silicone spray on rollers.
- Skipping the photo before calling for service. A photo of a frayed cable or cracked bracket gives the technician context and eliminates the “you need to replace everything” conversation. Document first, call second.
- Ignoring a slow drift on the balance test. A door that drifts four inches in a minute is a spring that’s losing tension, and a spring that loses tension eventually snaps. Measure the drift in inches, not vibes.
- Lubricating the track. Rollers ride on bearings, not on a lubricated track. A greased track attracts grit and creates a paste that accelerates wear. Lubricate the bearings and hinges, never the track.
- Replacing the weatherseal without checking the door’s alignment. If the door is out of balance or the track is shifted, the new seal wears unevenly within months. Fix the root cause first.
- Waiting until the spring snaps to call. A snapped spring is a five-minute event that can damage the door, the track, and a parked car. The annual spring inspection costs far less than the repair after a snap.
- Relying on a “call for quote” contractor when you have options. A written, flat-price estimate is something you can hold in your hand and compare. If a company won’t put a number in writing before you commit, that’s a flag. Clause 1 of The Haven Standard exists for exactly this reason: a written price and written scope before any work starts, on every job.
When to Call a Professional
Call a professional the moment you see a frayed cable, a cracked bracket, a spring separation, or a door that drifts more than two inches in a minute during the balance test. Also call if the door is off its tracks, if the opener reverses when it shouldn’t or doesn’t reverse when it should, or if you hear a grinding noise that wasn’t there last month. These are stop-and-call conditions, not monitor-and-wait conditions. Servo Garage Doors Van Nuys offers free estimates in Van Nuys, and every job includes a written price and scope before work starts, plus a documented photo record when the technician leaves. Call (213) 418-2520 and you’ll get a real person on the line, not a recording.
For a deeper look at what repair involves, see Garage Door Repair in Van Nuys. If the door is beyond repair, Garage Door Installation in Van Nuys covers what replacement looks like. And if the opener is the failing component, Garage Door Opener Repair & Installation in Van Nuys explains the logic board, trolley carriage, and limit switch issues that cause most opener failures.
Frequently Asked Questions
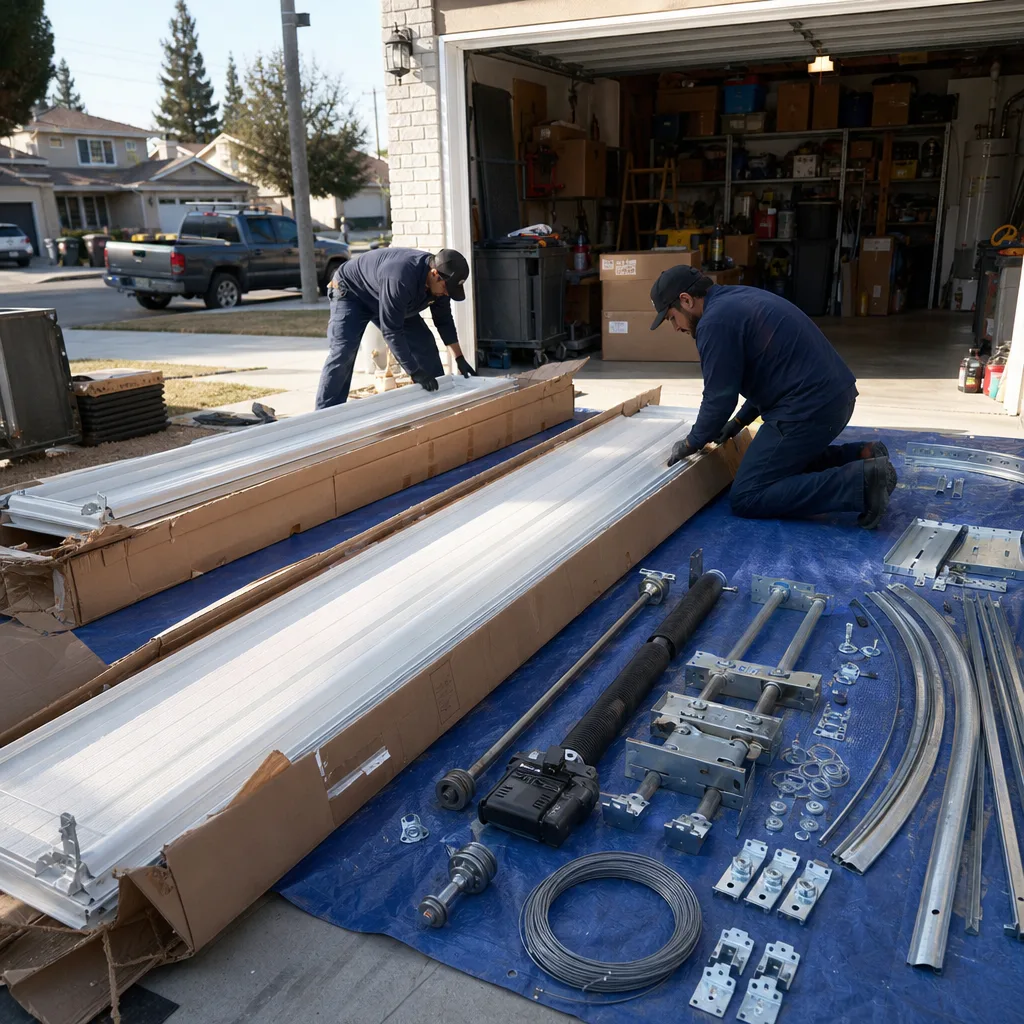
A basic professional inspection in Van Nuys typically runs $75 to $150, and many companies including Servo Garage Doors Van Nuys apply the inspection fee toward the repair if work is approved the same visit. DIY maintenance costs $18 to $25 for a bottom weatherseal, $10 to $20 for lithium grease and silicone spray, and $30 to $80 for a full roller set if replacement is needed. Call (213) 418-2520 for an exact quote, and you’ll get a written price before any work begins, not a verbal estimate.
Every four months, using lithium-based grease on hinges and silicone spray on rollers and the opener rail. The sustained heat from June through September thins lubricants and the winter wind season introduces grit, so the four-month interval keeps a fresh protective layer on the moving parts year-round.
No. Torsion springs hold enough stored energy to cause serious injury if they release unexpectedly, and the winding procedure requires specific tools and a precise sequence. The technicians who do this work carry winding bars, follow a documented procedure, and carry insurance for exactly this task. If your spring is broken or losing tension, call (213) 418-2520 and leave it alone until the technician arrives.
Disconnect the opener with the release cord, lift the door to the halfway point, and let go. Watch the door for 60 seconds. If it drifts more than two inches up or down, the springs are out of tension and the door needs a spring assessment. Document the drift in inches and mention it when you call.
Grinding usually points to a failing opener gear, a worn bearing, or a roller that has lost its bearing surface and is dragging on the track. Squealing points to dry hinges or rollers. Either way, document the sound and when it happens, then call for an inspection. A video with audio helps the technician diagnose before they arrive.
Yes. It’s Clause 1 of The Haven Standard, the operating standard Servo has worked under since 2015. You receive a flat, written price and a written scope before any work starts, and you receive a documented photo record when the technician leaves. There’s no “call for a quote” here because the quote is the document you get in writing, on site, before you agree to anything.
The Bottom Line
A garage door maintenance checklist for Van Nuys is only useful if it draws a hard line between what you can safely do and what belongs to a spring-winding professional. Run the visual inspection monthly in the summer, lubricate every four months with the right products, measure the balance drift in inches rather than impressions, and photograph everything before you call anyone. The $18 weatherseal and the quarterly balance test will save you more money over five years than any major repair strategy. And when you do call, Servo Garage Doors Van Nuys will give you a written price before work starts and a photo record when the work is done, because that’s the standard Marcus Deller built the company on in 2015 and it’s the standard that still runs.
Written by Marcus Deller, Owner at Servo Garage Doors Van Nuys, serving Van Nuys since 2015.